
Last updated November 16, 2026
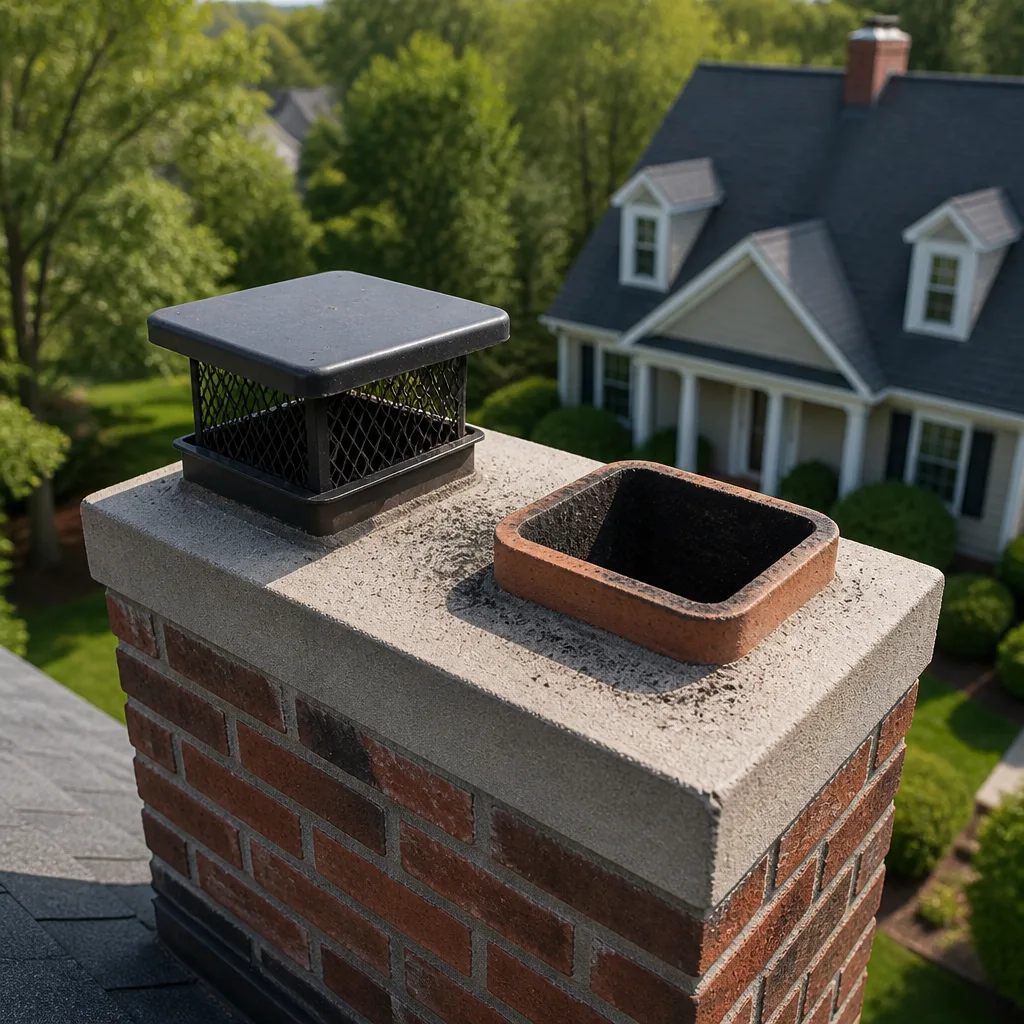 Sweep & inspection
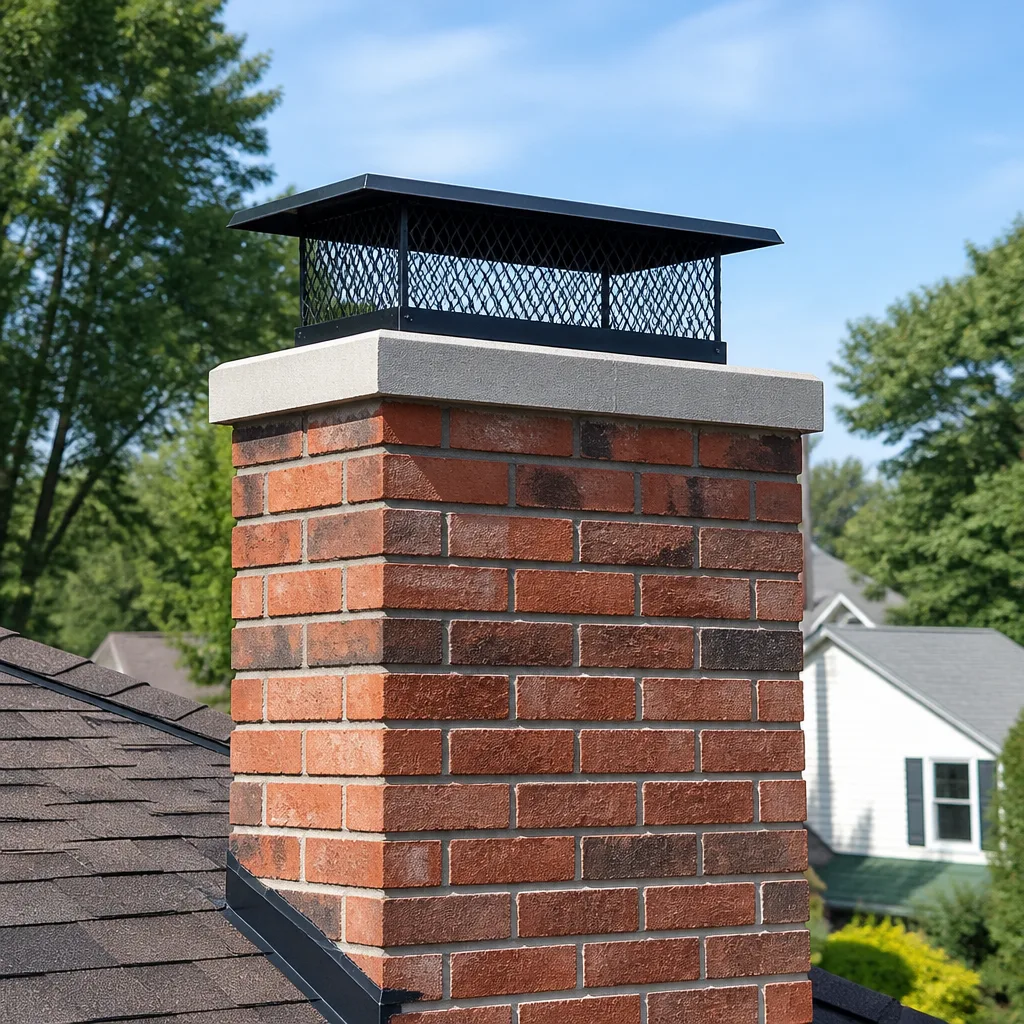 Caps & crowns
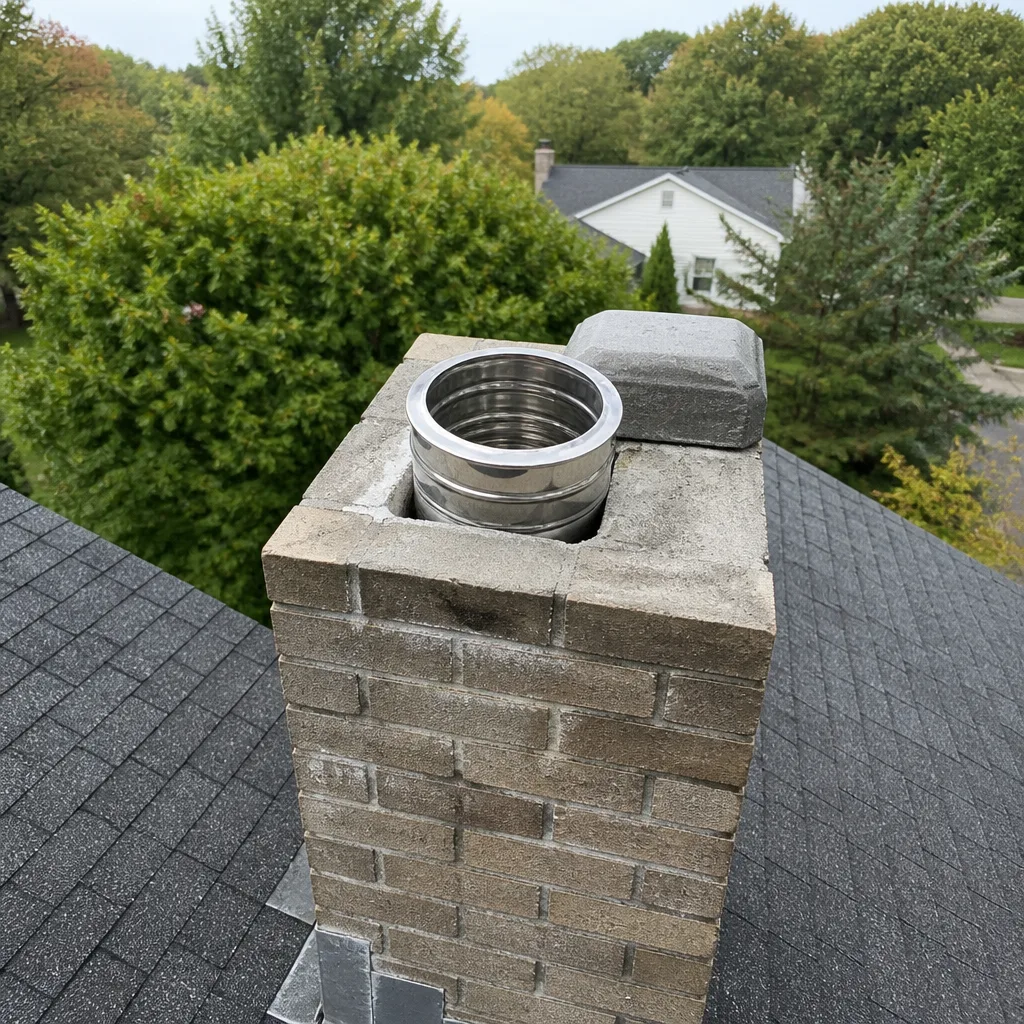 Flue relining
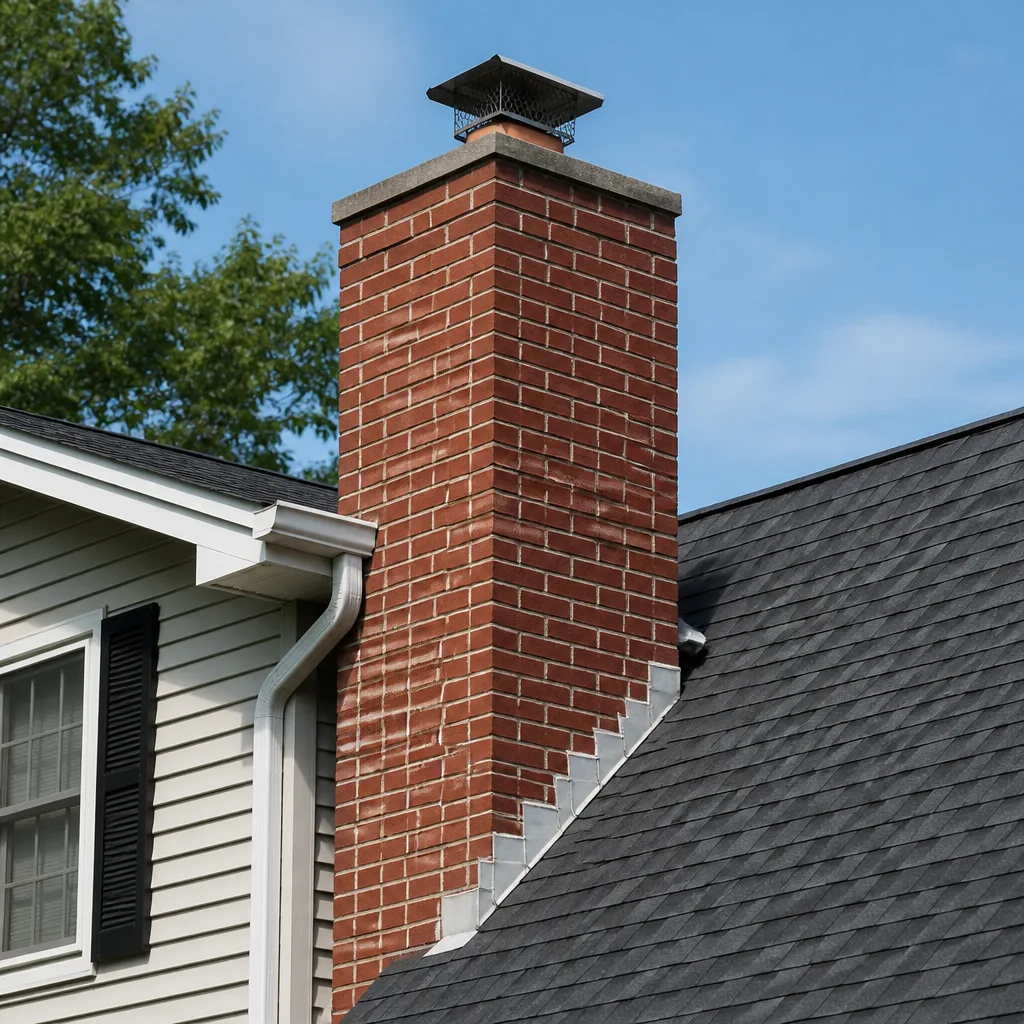 Masonry repair
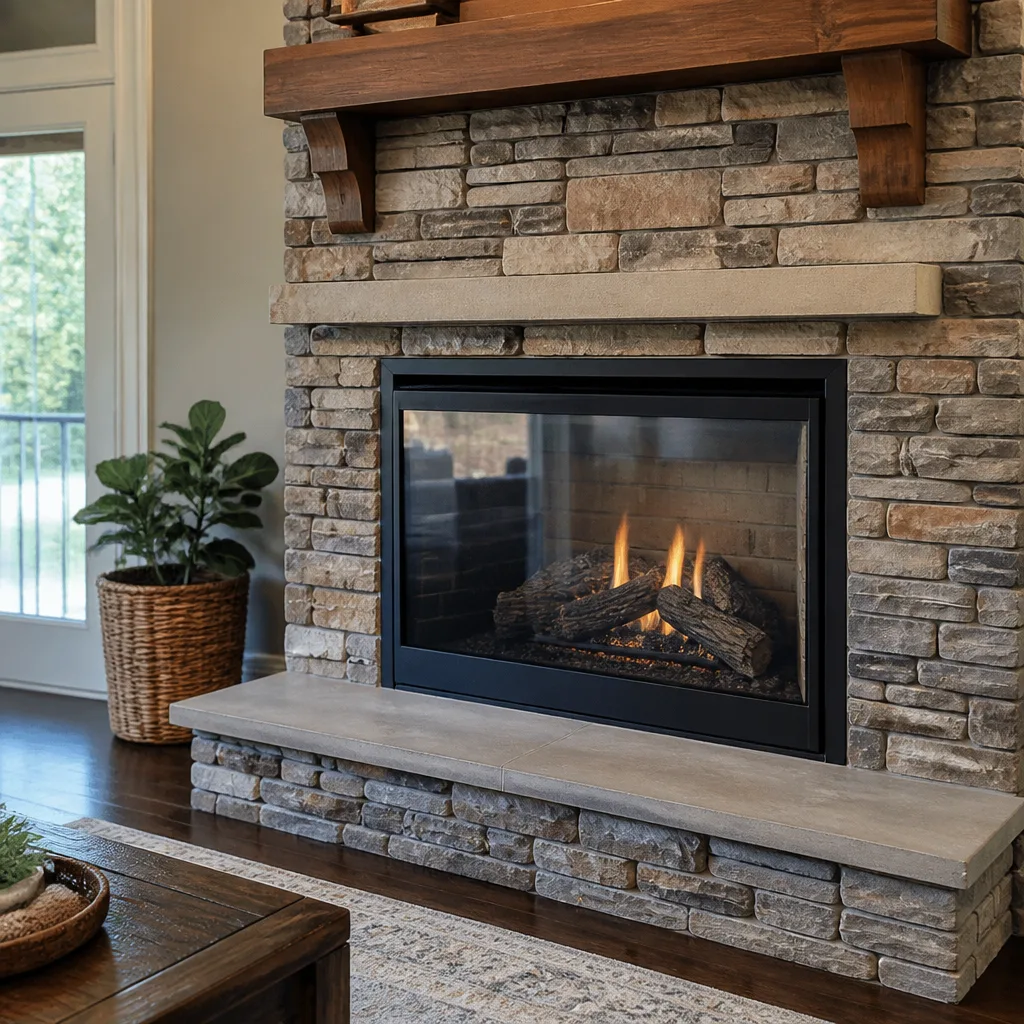 Gas fireplace service
Level 1 sweep and inspection to the NFPA 211 annual standard - flue, crown, cap, and flashing checked and photographed
Chimney sweep logs do not sweep chimneys. They loosen some creosote - which then falls where a brush and vacuum still have to collect it.
Chimney Sweep Maintenance Checklist for Miramar Homeowners
Most chimney maintenance advice you’ll find online was written for houses that sit under snow for four months. Miramar isn’t that house. Here, the fireplace runs a handful of evenings in January and February, then sits untouched while humidity, afternoon storms, and strong summer sun work on the outside of the chimney for the other nine or ten months. That quiet period is where the real problems start, and it’s why a checklist built for a Florida house looks different from a Northern one. We’re going to walk through what to check before the burning season, what to close up after it, what the wet season does to masonry, and which items you can handle with a flashlight versus which ones need a trained eye.
Styles & brands we work with
- Sweep & inspection
- Caps & crowns
- Flue relining
- Masonry repair
- Gas fireplace service
Quick Answer
A chimney maintenance checklist for a Miramar home covers four checkpoints a year: a pre-season inspection in October before the first fire, a post-season close-up in March after the last one, a mid-year humidity check on the masonry and flue during the rainy stretch, and a storm-damage check on the cap, crown, and flashing after any named storm or heavy wind event. Ground-level visual checks are safe for homeowners. Anything involving the flue interior, the cap replacement, or the crown needs a trained chimney professional.
Table of Contents
- Why a Miramar Chimney Checklist Doesn’t Look Like a Northern One
- The October Pre-Season Checklist
- The March Post-Season Close-Up
- The Mid-Year Humidity Inspection
- The Storm Damage Checklist
- DIY vs. Licensed Sweep: What You Can Check Yourself
- How Often Should You Actually Schedule Each Item?
- Common Mistakes to Avoid
- When to Call a Professional
- Frequently Asked Questions
- The Bottom Line
Why a Miramar Chimney Checklist Doesn’t Look Like a Northern One
In a cold climate, the chimney gets a workout all winter and then rests. In Miramar, it’s the reverse. Your flue spends most of the year dormant while the exterior of the chimney takes a beating from heat, rain, and sun. That changes what fails and when it fails.
The most common failure we see on Miramar homes isn’t a soot blockage or a cracked flue tile from a hot fire. It’s a rusted-out or sun-degraded chimney cap. A galvanized steel cap sitting on a roof through South Florida summers and hurricane-season winds can go from functional to compromised in a few short years. Most homeowners don’t find out until they hear scratching in the flue or notice water stains on the firebox ceiling.
The second factor is rain. A chimney here gets hit with brief, intense downpours through the wet season. Water that gets past a failing cap, a hairline crack in the crown, or degraded flashing doesn’t freeze and push the masonry apart the way it does up north. Instead, it soaks in, evaporates slowly, and leaves mineral deposits on the surface. That’s a slow failure, which is exactly why it gets missed for years.
So this checklist is built around the calendar of a Miramar home: what to look at before a fire, after a fire, during the wet stretch, and after a storm. If you want a broader background on the underlying services, our Chimney Sweep Miramar page is a good starting point. But the checklist below is the practical part.
The October Pre-Season Checklist
Do this in October, before the first fire of the year. Most of it is safe from the ground with a flashlight and binoculars. Do not climb onto the roof to do these checks. The point is to catch what you can see safely and note what needs a professional.
- Look at the cap from the ground. Use binoculars or a phone zoom. Check for rust, missing screws, bent edges, or gaps where an animal could get in. A cap that’s visibly rusted through needs replacing, not patching.
- Inspect the crown from the ground. The crown is the concrete or mortar cap at the top of the chimney. Look for visible cracks, crumbling, or a crown that’s pulling away from the flue tile.
- Check the firebox. Open the damper and shine a light up. Look for obvious soot buildup, animal nests, debris, or a damper that won’t fully open or close.
- Test the draft before lighting a fire. Hold a lit match or a piece of smoking paper near the open damper with the firebox door open. If smoke doesn’t pull up and out cleanly, don’t light a fire. Call a sweep first.
- Check for water staining. Look at the firebox ceiling, the damper area, and the wall above the fireplace inside the house. Rust-colored stains or dark watermarks mean water is getting in from above.
- Clear the firebox. Remove ash and any leftover debris from last season. Do not sweep the flue yourself. That’s a job for a proper chimney sweep with the right brushes and a camera.
- Book the inspection. If you haven’t had a professional inspection this year, schedule one before you light a fire. The inspection is where the real work of the checklist gets done.
Notice that none of those steps involve going onto the roof. Roof access on a Miramar home, especially after a summer of storms, is not a homeowner job. The ground-level checks catch enough to tell you whether you need a professional.
What If You Haven’t Used the Fireplace in Years?
If the fireplace hasn’t been used in more than a year, treat the pre-season inspection as mandatory rather than optional. A dormant flue is an inviting space for birds, squirrels, and other animals, especially with a failing cap. It’s also where a cracked flue tile can sit unnoticed with no fire to reveal it. A camera inspection will tell you exactly what’s inside before you commit to a fire.
The March Post-Season Close-Up
After the last fire of the year in February or March, this is what you close off and protect before the wet season arrives. Do this in March, while the weather is still dry enough to get a professional out without a scheduling rush.
- Have the flue swept. Soot and creosote sitting in a flue through the humid summer is not a hazard in itself the way an active chimney fire is, but it’s a moisture trap. A clean flue dries out faster and doesn’t give humidity a foothold. Our chimney sweep service handles post-season cleaning so the flue sits clean through the off months.
- Close the damper fully. An open damper is a direct path for humid outside air into the firebox and, from there, into the house. Make sure it’s closed and stays closed.
- Confirm the cap is intact. A cap that survived the winter might not survive the wet season. If it’s been on the roof for more than five years without inspection, have it checked now. We install Famco and Copperfield caps and venting components, which means replacements get handled in one visit rather than ordered and rescheduled.
- Look at flashing. The metal around the base of the chimney is where most water intrusion begins. From the ground, look for lifted edges, separation, or gaps. If anything looks loose, get a professional up there before the rainy stretch.
- Clear roof debris. Leaves and palm fronds piled against the chimney at the roofline hold moisture. Clear them away.
The post-season close-up is the single most overlooked step on this checklist. Homeowners think of chimney maintenance as something you do before you burn. In a Miramar climate, what you do after the last fire matters just as much.
The Mid-Year Humidity Inspection
Somewhere around July, when the rainy season is in full swing, do a mid-year walk-through. This isn’t a full inspection. It’s a check for the specific signs that tell you water is moving through the chimney in a way it shouldn’t.
What Efflorescence Tells You
Efflorescence is the white, chalky or powdery staining that shows up on brick and mortar. It’s the visible evidence of water moving through masonry and leaving mineral salts behind on the surface. A little is cosmetic. A lot, especially if it’s growing or coming back after you clean it, means water is actively migrating through the chimney structure. That water can work its way into the flue liner area, and a wet flue lining is a degrading flue lining.
What Interior Staining Tells You
Look inside at the firebox ceiling, the damper, and the wall directly above the fireplace. Rust-colored streaks, brown watermarks, or flaking paint tell you water is coming down the flue from above. That points to a failed cap, cracked crown, or degraded flashing. All three are correctable, but none get better on their own.
What to Do With What You Find
- Photograph anything you see. It gives a technician something concrete to work from.
- Don’t try to seal, paint over, or patch efflorescence or water staining. Covering it hides the evidence without stopping the water.
- Schedule an inspection. A camera inspection will tell you whether water has reached the flue liner, which is where the real risk sits.
- If a liner is compromised, the fix is a reline. We use DuraFlex and Olympia Chimney flexible liner systems for that work, and HeatShield for flue restoration where a full reline isn’t needed.
The mid-year check is worth doing because it’s the one time of year when the signs of water intrusion are freshest. Waiting until October to look means you’re looking at nine months of accumulated damage.
The Storm Damage Checklist
After a named storm or any heavy wind event, walk the property and check these items. This is a ground-level inspection. If anything looks off, get a professional on the roof.
- The cap. Look for a cap that’s been shifted, dented, or blown loose. A displaced cap leaves the flue open to rain and animals. This is the most common storm casualty on a Miramar chimney.
- The crown. Check for new cracks or a crown that’s visibly shifted. Look at the joint where the crown meets the flue tile.
- The flashing. The metal at the roof-to-chimney junction is the weakest point in any storm. Look for lifted edges, missing fasteners, or gaps where water can get under.
- The masonry itself. Look for loose bricks, cracked mortar joints, or missing pieces. Even a small piece of masonry falling from roof height is a serious problem.
- Debris on the roof. Palm fronds, branches, and leaves piled against the chimney hold moisture and stress the flashing. Clear them off.
- Interior water stains. After a storm, check the firebox and the wall above the fireplace for new watermarks. A stain that appears within a few days of a storm points directly to roof-level water entry.
Storm damage is the one case where waiting isn’t a good idea. A cap that’s been knocked loose lets in rain from the very next afternoon shower, and the damage compounds with every storm that follows. If your chimney takes a hit, get an inspection sooner rather than later.
Do You Need a Repair After Every Storm?
No. Most storms pass without damage to the chimney. The point of the checklist is to confirm that, not to assume it. If the cap is intact, the crown is sound, the flashing sits flat, and there’s no interior staining, the chimney came through fine. If any of those fails, schedule an inspection.
DIY vs. Licensed Sweep: What You Can Check Yourself
One of the most useful distinctions on this checklist is which items are safe for a homeowner and which need a trained professional. Getting this wrong is how people get hurt.
What You Can Safely Handle
- Ground-level visual checks of the cap, crown, flashing, and masonry using binoculars or a phone zoom
- Interior checks of the firebox, damper, and wall above the fireplace for stains and debris
- Clearing ash and debris from the firebox
- Clearing leaves and fronds from around the base of the chimney at the roofline, if it can be done safely
- Closing the damper after the last fire
- Photographing anything that looks wrong
What Needs a Trained Professional
- Anything that requires going onto the roof
- Any inspection or cleaning of the flue interior
- Cap replacement
- Crown repair or rebuilding
- Flashing repair
- Flue relining or restoration
- Masonry repair on the chimney structure
The line isn’t arbitrary. Roof work on a Miramar home after a storm season is genuinely dangerous, and a flue interior you can’t fully see is where the real hazards hide. A camera inspection is the only way to actually know what’s in your flue. Everything above the roofline belongs to a trained sweep with the right equipment and the right insurance.
- Handle the flashlight-level checks yourself.
- Leave anything above the roofline to a trained sweep.
- Never sweep a flue with a wire brush from below; you can damage a flue liner you can’t see.
How Often Should You Actually Schedule Each Item?
Here’s the schedule that fits a Miramar home. It’s built around South Florida’s burning season and wet season rather than a generic annual calendar.
- Professional inspection: once a year, ideally in October before the first fire. If you’ve had a storm pass through in the off-season, add one after the storm.
- Professional sweep: once a year for a typical homeowner who burns a few cords or fewer. More often if you burn heavily through the season.
- Pre-season ground-level check: October, every year, before the first fire.
- Post-season close-up: March, every year, after the last fire.
- Mid-year humidity check: July, every year, during the wet stretch.
- Storm damage check: after any named storm or heavy wind event, no exceptions.
If you’ve never had a professional inspection on the home you’re in, that’s the first item to book. A camera inspection tells you what condition the flue is in, what the cap looks like from above, and whether the crown and flashing are holding. Everything else on this schedule assumes you have that baseline.
If you’re new to the area, our Miramar page covers the local context. But the schedule above applies to any home with a wood-burning fireplace or fuel-burning appliance in this climate.
Common Mistakes to Avoid
- Ignoring the cap until something is inside the flue. By the time you hear scratching, an animal has already gotten in. The cap is the first line of defense and the cheapest component on the chimney to replace. Check it from the ground every October.
- Assuming a mild winter means the chimney doesn’t need maintenance. A brief burning season still produces creosote and soot. The other nine months are when water and UV do the outside damage. The chimney needs attention year-round even when the fireplace sits idle.
- Painting over efflorescence or water stains. Covering the signs hides the evidence without stopping the water. If you see efflorescence on the masonry or staining on the firebox ceiling, find out why before you make it disappear.
- Sweeping the flue with a wire brush from below. You can’t see what you’re brushing, and a wire brush on a flue liner you haven’t inspected can cause damage. A camera inspection comes before any sweeping for a reason.
- Skipping the post-storm check because the roof looks fine. The most common storm damage is a shifted or cracked cap, and it isn’t always visible from the driveway at a glance. Binoculars and a slow walk around the house catch it.
- Not closing the damper after the last fire. An open damper lets humid air straight into the firebox all summer. That’s the fastest route to interior staining and rust on the damper itself.
- Calling a general handyman for chimney work. Chimney repair is a specialist trade. A handyman who’s never applied HeatShield or installed a flexible liner system is not the right call for flue repair, no matter how reasonable the quote. If the recommendation involves a liner, ask what product is being used and why.
When to Call a Professional
Call a professional chimney sweep if you see any of the following: rust or damage on the cap, cracks in the crown, lifted or missing flashing, water staining inside the firebox, white efflorescence on the masonry that keeps returning, a draft that doesn’t pull cleanly, or any visible damage after a storm. Also call if it’s been more than a year since the last inspection, or if you’ve never had one on the home you’re in.
Chimney Sweep Miramar offers free estimates in Miramar – call (866) 942-9444. We answer 24/7. Fast dispatch from 7am to 7pm, Sunday through Friday. An inspection is the starting point for every other item on this checklist, and a camera inspection with a written report tells you exactly what condition the chimney is in before any work begins.
Frequently Asked Questions
Once a year for a typical Miramar home, usually in March after the last fire of the season or in October before the first. Homes that burn heavily through the winter may need more frequent sweeping, and any home with a fuel-burning appliance should be on an annual schedule without exception. The annual inspection is the more important of the two because it tells you whether sweeping is enough.
Only if the existing flue liner is actually compromised, and a camera inspection is the only way to know that for sure. A cracked or deteriorated liner lets combustion gases and heat reach the surrounding structure, which is why liner integrity matters. We recommend a reline only when the inspection shows a real problem, and we use HeatShield for flue restoration where a full reline isn’t needed, or DuraFlex and Olympia Chimney flexible liners for a full replacement.
Nothing at first, and that’s the problem. Soot, creosote, damaged cap, cracked crown, or a degrading liner can all sit for a year or more without an obvious sign inside the house. What eventually shows up is water staining, an animal in the flue, or a draft that stops working. The inspection catches those issues while they’re still cheap to fix, and it tells you plainly when something can safely wait.
Yes, because the reason to sweep isn’t just soot from fires you had. It’s the humidity that sits in the flue through the off-season and the debris that accumulates while nothing is burning. A clean flue dries out faster and doesn’t give water a place to settle. For a Miramar home that burns a handful of evenings in January and February, an annual sweep paired with the March close-up is the right schedule.
Before, if you can. A failing cap is the most common source of water entry on a Miramar chimney, and the wet season is when water does the most damage. If you notice rust, missing screws, or gaps in October, get the cap replaced before the rainy stretch starts. We install Famco and Copperfield caps, which means a replacement gets handled in one visit.
Check the cap, the crown, the flashing at the roofline, the masonry, and the firebox interior for new water stains. All of these can be checked from the ground with binoculars and a flashlight. If anything looks shifted, dented, cracked, or wet, schedule an inspection. If everything looks intact from the ground, the chimney likely came through fine.
The Bottom Line
Chimney maintenance in Miramar is a four-checkpoint cycle, not a once-a-year event you squeeze in before the first fire. Check the cap, crown, and flashing from the ground in October. Close the damper and have the flue swept in March. Walk the masonry and firebox in July during the wet stretch. Check for storm damage after every heavy wind event. Ground-level visual checks are yours to do. Anything above the roofline, anything inside the flue, and anything that needs a repair belongs to a trained sweep with the right materials. When you’re ready for the inspection that anchors the whole schedule, Chimney Sweep Miramar offers free estimates – call (866) 942-9444. We answer 24/7. Fast dispatch from 7am to 7pm, Sunday through Friday.
Written by the team at Chimney Sweep Miramar.
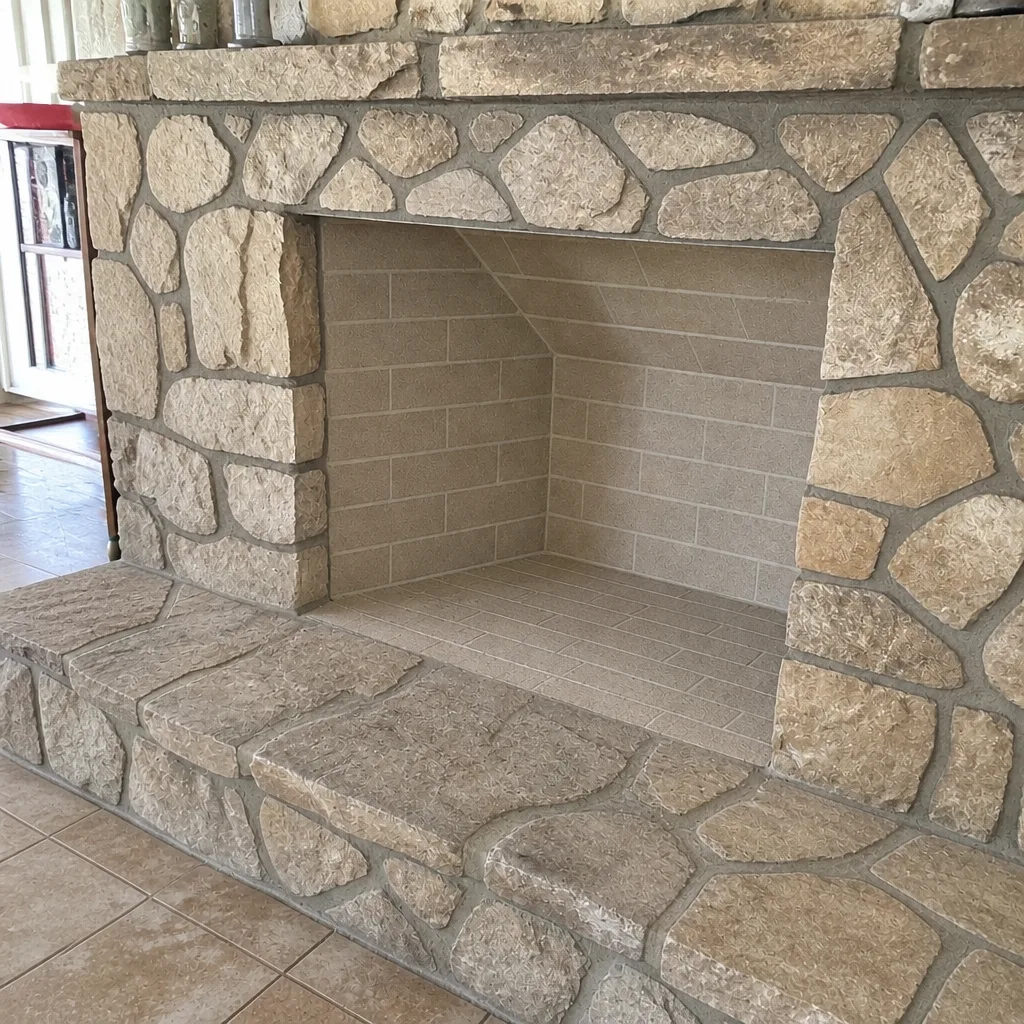
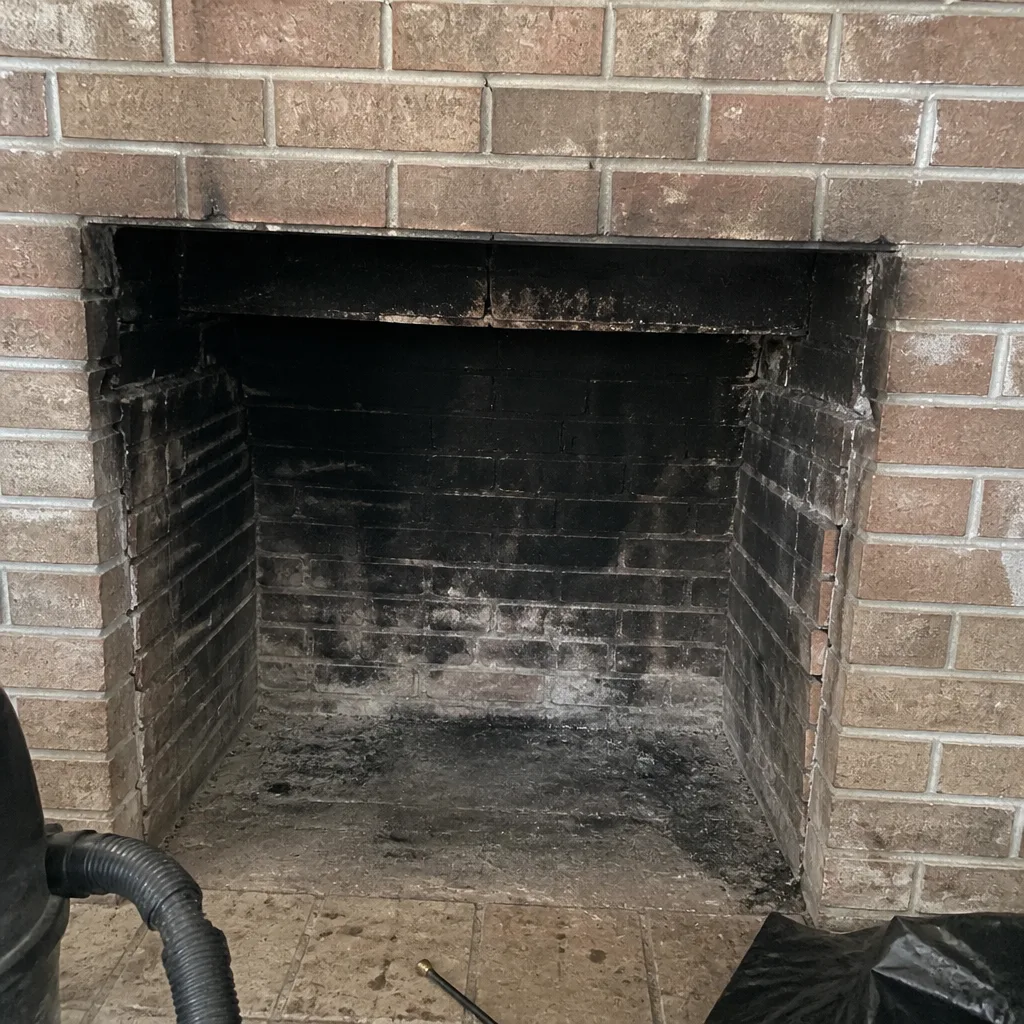
See the difference
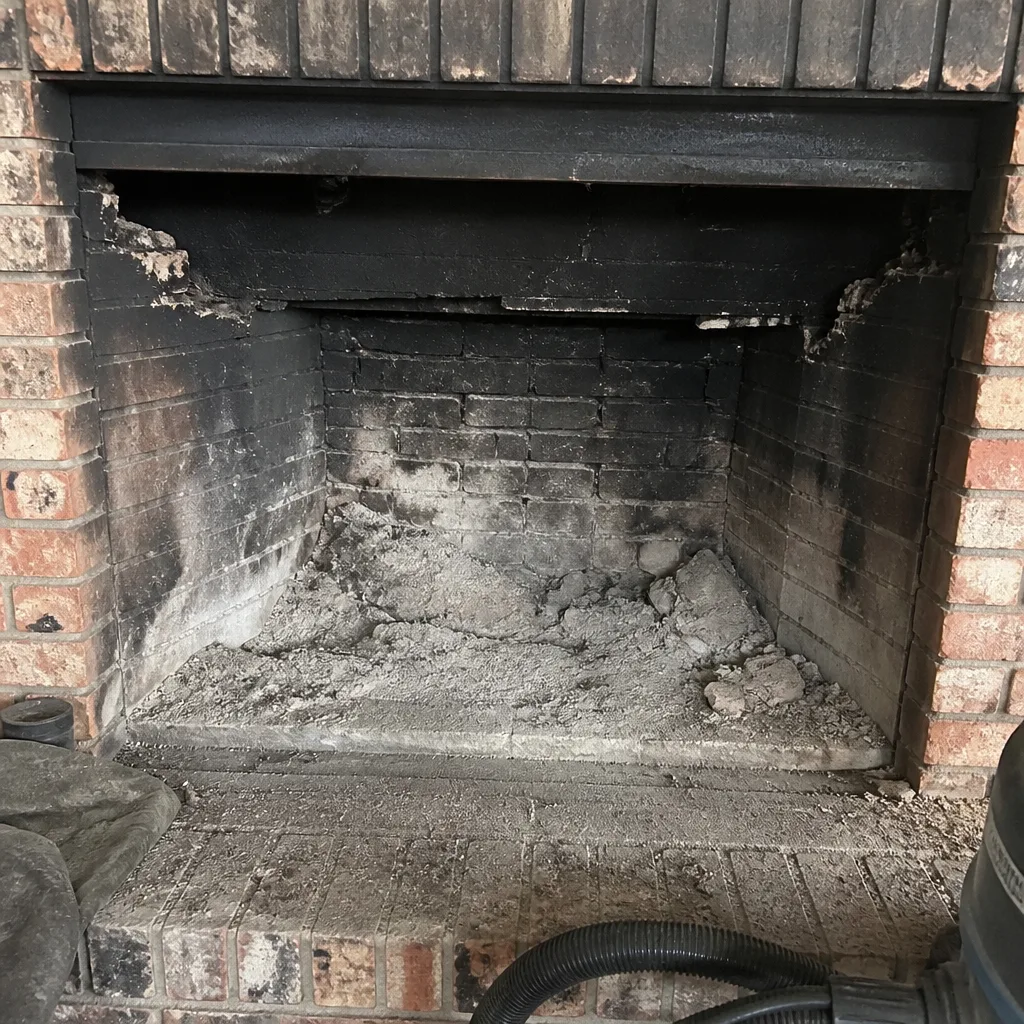 Before
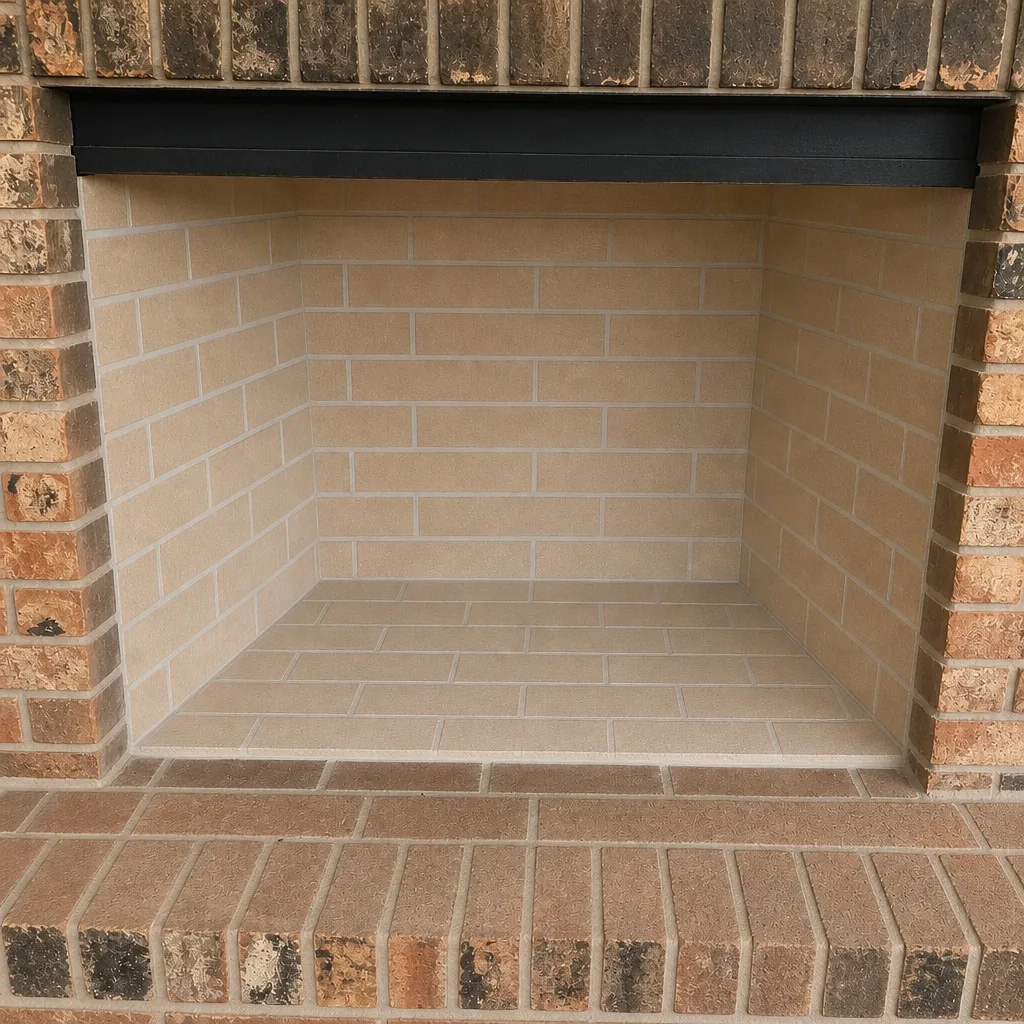 After
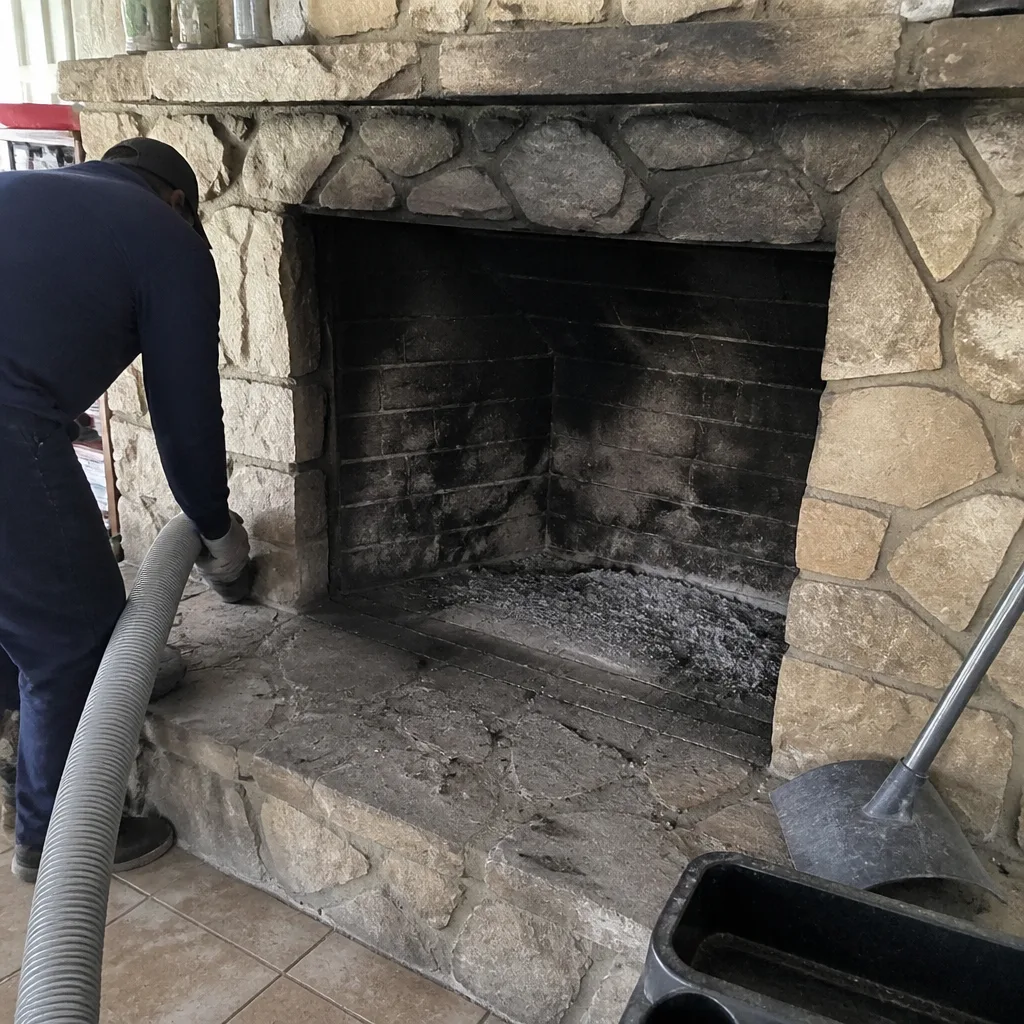 Before
 After
 Before
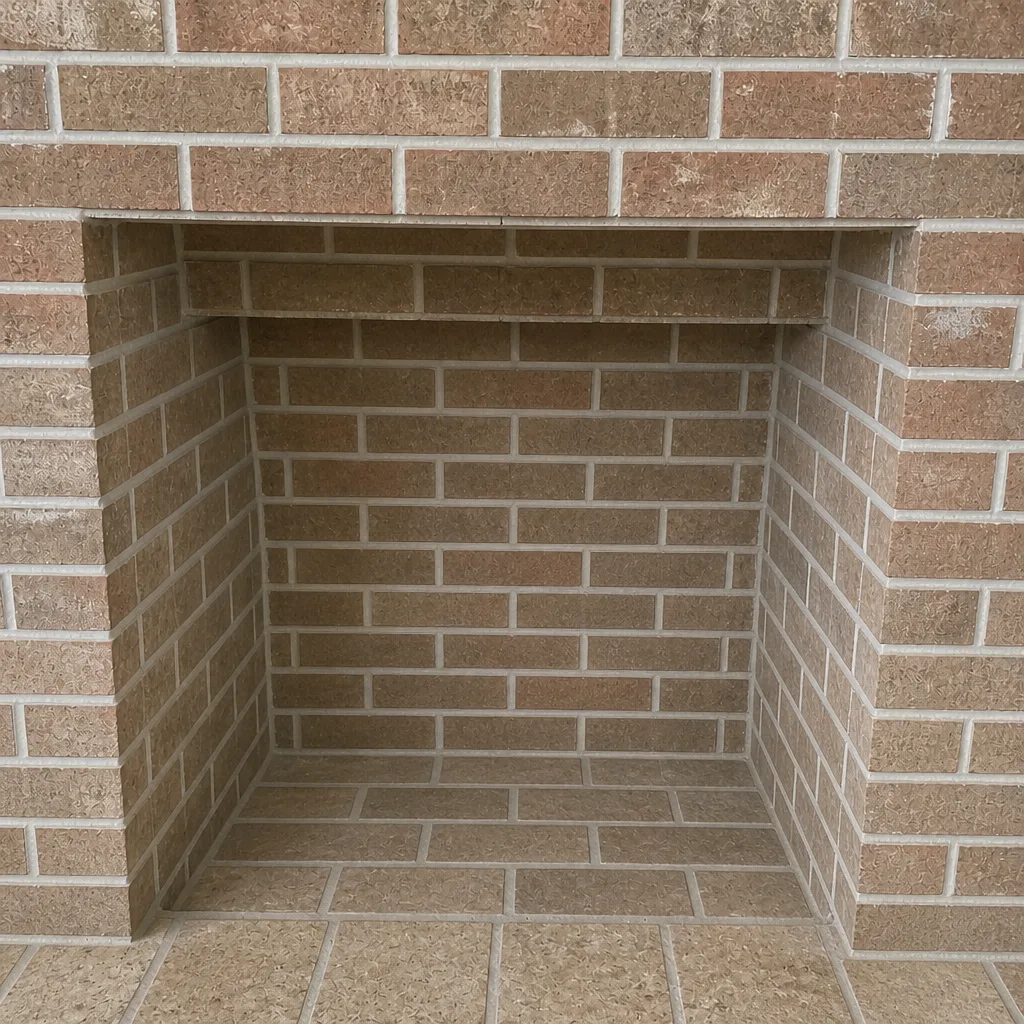 After